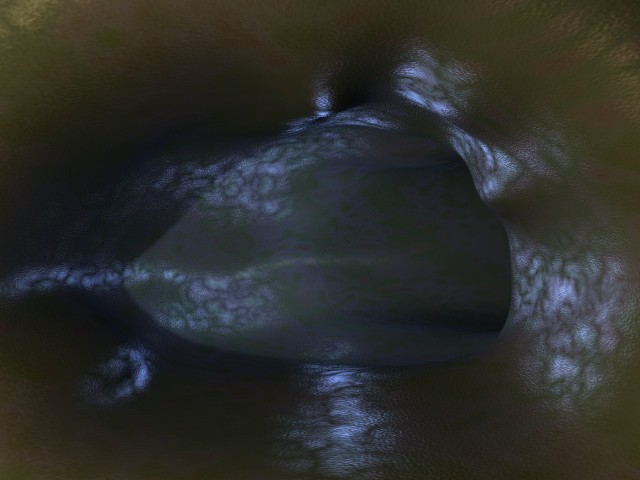
The Cave of Torsan A
http://www.blendernation.com/tutorials/blender-3d-beginner-tutorial-the-cave-of-torsan-a/
Introduction
In this one, I'll be explaining the new skinning tool of Blender. The idea is simple: using a number of cross-sections, I will create an organic-looking cave.
Creating the cross-sections
1. From the side view, add a surface curve. (This is important - 'normal' curves won't work!). While still in edit mode, select one of the endpoints, and draw a cross-section of your cave using CTRL-Leftmouse. Something nice and regular will do just fine for the first cross-section.
Your screen will look something like this:

2. In order to be able to use the skinning tool, each cross-section of the cave must have the same number of vertices. So, I just create a bunch of duplicates of the surface-curve I just created. (Be careful to use duplication and not instantiation - use shift-D instead of alt-D).
Modify each cross-section a bit - add some irregular stuff.

3. Now, switch to top view, and place the cross-sections behind each other. I have sometimes placed the slices closer to eachother to enable sharp ridges to occur.
4. When you want more cross-sections, you can always duplicate existing sections and place them somewhere else.

5. To create a nice, rounded entrance to the cave, duplicate the first cross-section and enlarge it a bit:

6. Before you can skin the curves, they need to be joined into a single object. Select them all ("B" KEY) and hit CTRL - "J" (Join). Confirm the question 'Join Selected NURBS?'.
7. Enter editmode, select all vertices ("A" KEY) and hit "F".

8. That's really all there is to it. Now, to create a nice, alien-looking texture, you don't need any imagemaps at all. Just play around with multiple layers of texturemaps. Use 1 texture for a bumpmap, one for a coarse texture (greenish), one for a fine, rust-brown texture and one for specularity mapping. Just take a look at the .blend file at the bottom of the page for the exact settings.
9. Before rendering, you can crank up the resulution of your NURBS surface by selecting the cave, entering edit mode and changing the NURBS resulution sliders:

10. Finally, place some good, atmospheric lights. In this case, I used a yellow light, a red light and a blue light with limited ranges.
The result
