1. Preparing the Mesh

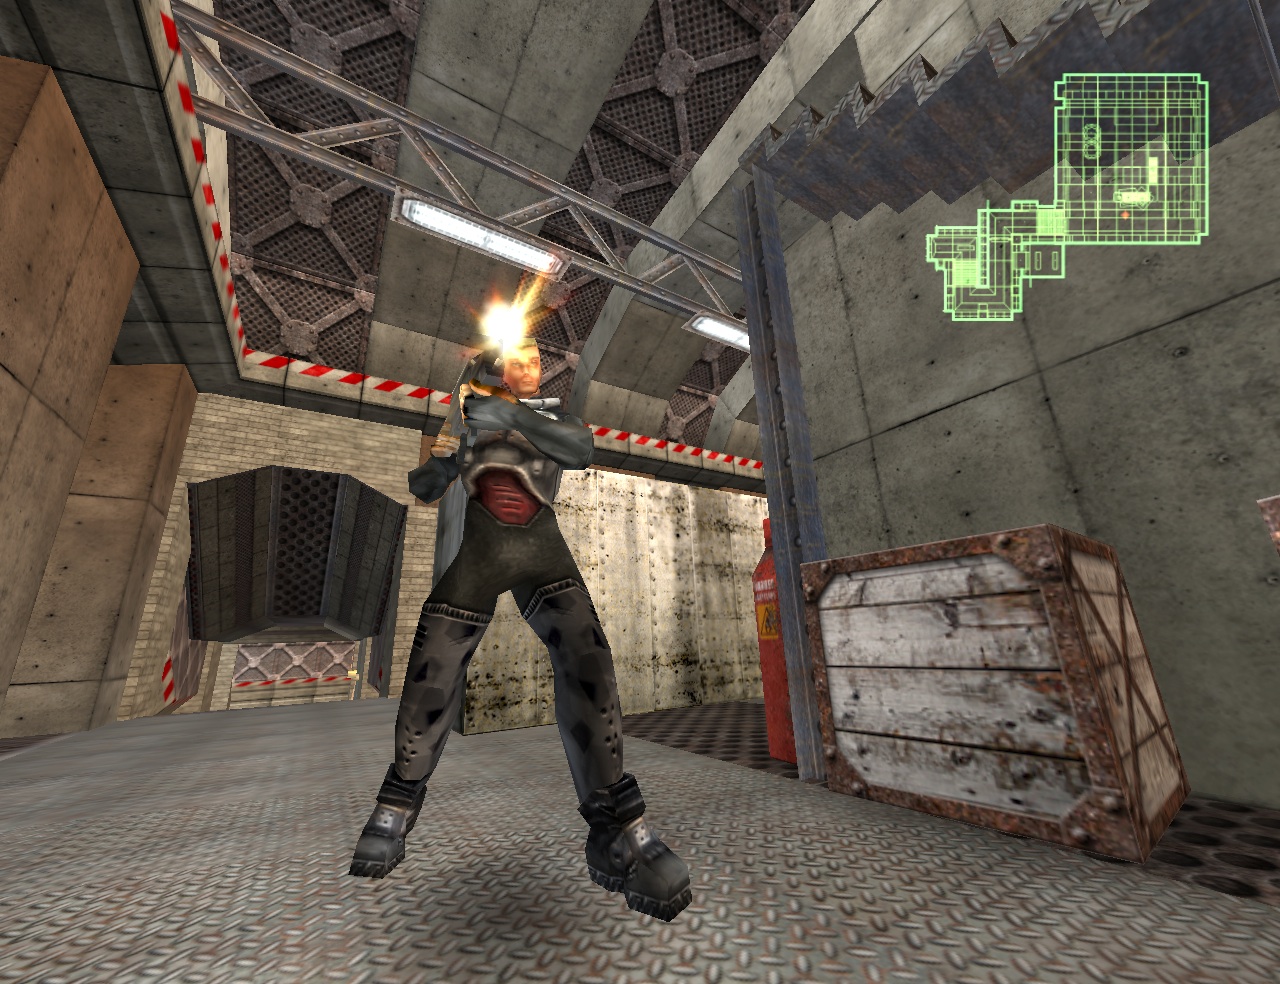
The new armature system opens up new possibilities for character animation in the Blender game engine, but can be somewhat intimidating for new users. This tutorial guides you through the steps involved in building an armature and creating actions that can be used for smooth character animation in the game engine. Check the file Games/ePolice.blend for a decent example using the character from this tutorial.
This tutorial assumes you have already modeled a character that you want to use in an animation. Due to the high cost of calculating skeletal deformation, you will get better performance by using fewer vertices in your meshes. It pays to spend some time to optimize your models before continuing. You can use the file Tutorials/CharacterAnimation/animation_tut.blend as base for this tutorial.
Many aspects of blender's game and animation engines depend on the fact that you have modeled your character and armature using the correct coordinate system. The FrontView (PAD1) should show the front of your character and armature. If this is not the case, you should rotate your mesh so that the front of the character is displayed in the FrontView, and apply the rotations as described in the next step.
Before adding bones and animating a mesh, it is a good idea to make sure that the base mesh object does not have any rotation or scaling on it. The easiest way to do this is to select the mesh and apply any existing transformations with CTRL-A->"Apply size/rot".